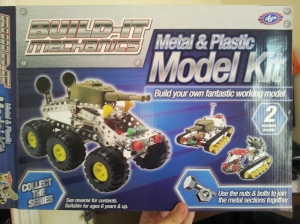
So I went round a few shops looking for parts. I didn’t want to spend more than £10 for a toy that I was just going to rip to pieces for parts.
Then I found the below for £6.99 and £2.99…
Lets see what I did with these 🙂
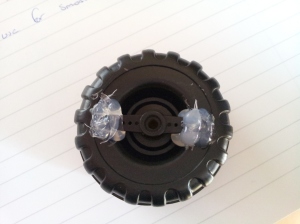
As you can see from the below, this was the way I attached the Servo horn to the wheels. Good old glue gun. **Things to note, first attempt popped off straight away, due to the ultra smooth plastic wheel. I sanded the area down and this gave better results.***
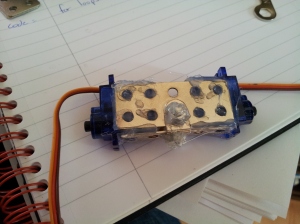
Made a basic bracket for the servos to sit on, then used glue gun to attach them. (dunno if this was a good idea, could be a night mare if i want to use them elsewhere.
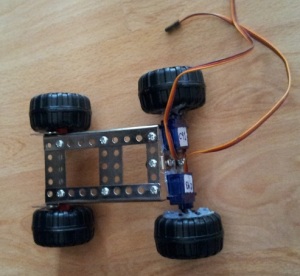
Rear wheels complete.
Was getting a little excited at this point, seeing it starting to come together. Front wheels are held together with a small bar that came with the set.
I wanted the Arduino to be in its own little section, so firstly I put a strip of plastic down this was then held in place with bluetac. I then added another metal strutt above so this would then hold the battery and breadboard. The head servo and ultrasonic sensor was added at this point. As you can see I used bluetac to help me work out where I would have pieces. Bluetac is good but only for static pieces, the amount of times the head(ultrasonic sensor) fell off was unbelievable.
Below was the finished build, that would enable me to test code… I had a few mistakes at this point.
- Bluetac to hold head servo
- The wheels are made of plastic, so just spin on laminate flooring.
- and most embarrasingly, thinking I could power this with a 9V battery.
See next posts for newer version, which has the above problems ironed out.


